
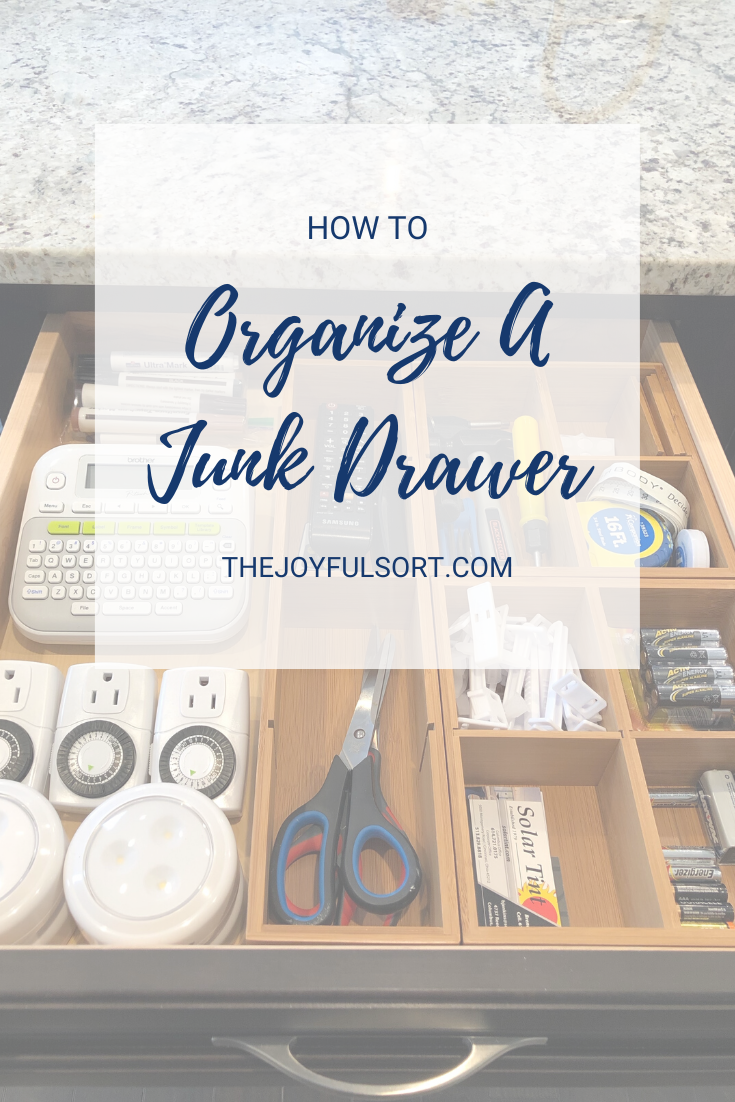
The Joyful Sort How To: Organize A Junk Drawer
When I sat down to write this post, I had an “I couldn’t help but wonder” Carrie Bradshaw moment about where the term junk drawer actually originated and I ended up going down a bit of a rabbit hole of junk drawer knowledge - no, they’re definitely not just a Midwest thing (in the U.K. they’re called “knick-knack drawers”), Super Glue is found in 58% of them, and apparently the contents of yours can even say a lot about your personality! Every home has at least one of these drawers full of random items that tend to just…land.
Believe it or not, I’m actually a fan of keeping a junk drawer - you’re creating a home for items that may not otherwise have one and that do come in handy! BUT, just as with any other organizing system, it’s a spot that needs to be regularly maintained to prevent things from getting too junky to function. Organizing a junk drawer is one of my favorite starter decluttering and organizing projects because it can typically be done very quickly and provides an easy visual win, so pop on your favorite podcast or Apple Music station and let’s go!
Empty and sort.
As usual, things will get worse before they get better. Pick a clear, flat surface like a kitchen table or island and dump the contents of the drawer. Start with pitching any obvious trash (wrappers, old receipts) and then sort remaining items into like categories - pens/pencils, rubber bands, gift cards, small household tools, etc.
Define the space.
Once you’ve sorted, it’s time to determine what will be sticking around, and to do that you’ll need to define how you want to use the drawer moving forward. Do you need a better spot for office supplies or home utility items like scissors and tape? Maybe you need more of a multi-functional “out the door” drawer for things like keys and gum and lip balm. Think about how you can make your space and your stuff work for you, not the other way around. Once you’ve decided how you’re going to use the space moving forward, relocate any items that no longer make sense there.
Clean slate.
Wipe out the drawer and/or take a quick sweep with a small vacuum attachment, then leave open for a few minutes to let everything air dry. If you’re feeling particularly ambitious, this is also a great time to pop in a cute liner (removable wallpaper or even gift wrap is great for this) to create a little joy moment the next time you reach for the scissors! Once the drawer has been emptied and cleaned, I like to lay out my grouped items back into the drawer to get a feel for how much containment will be required for each category.
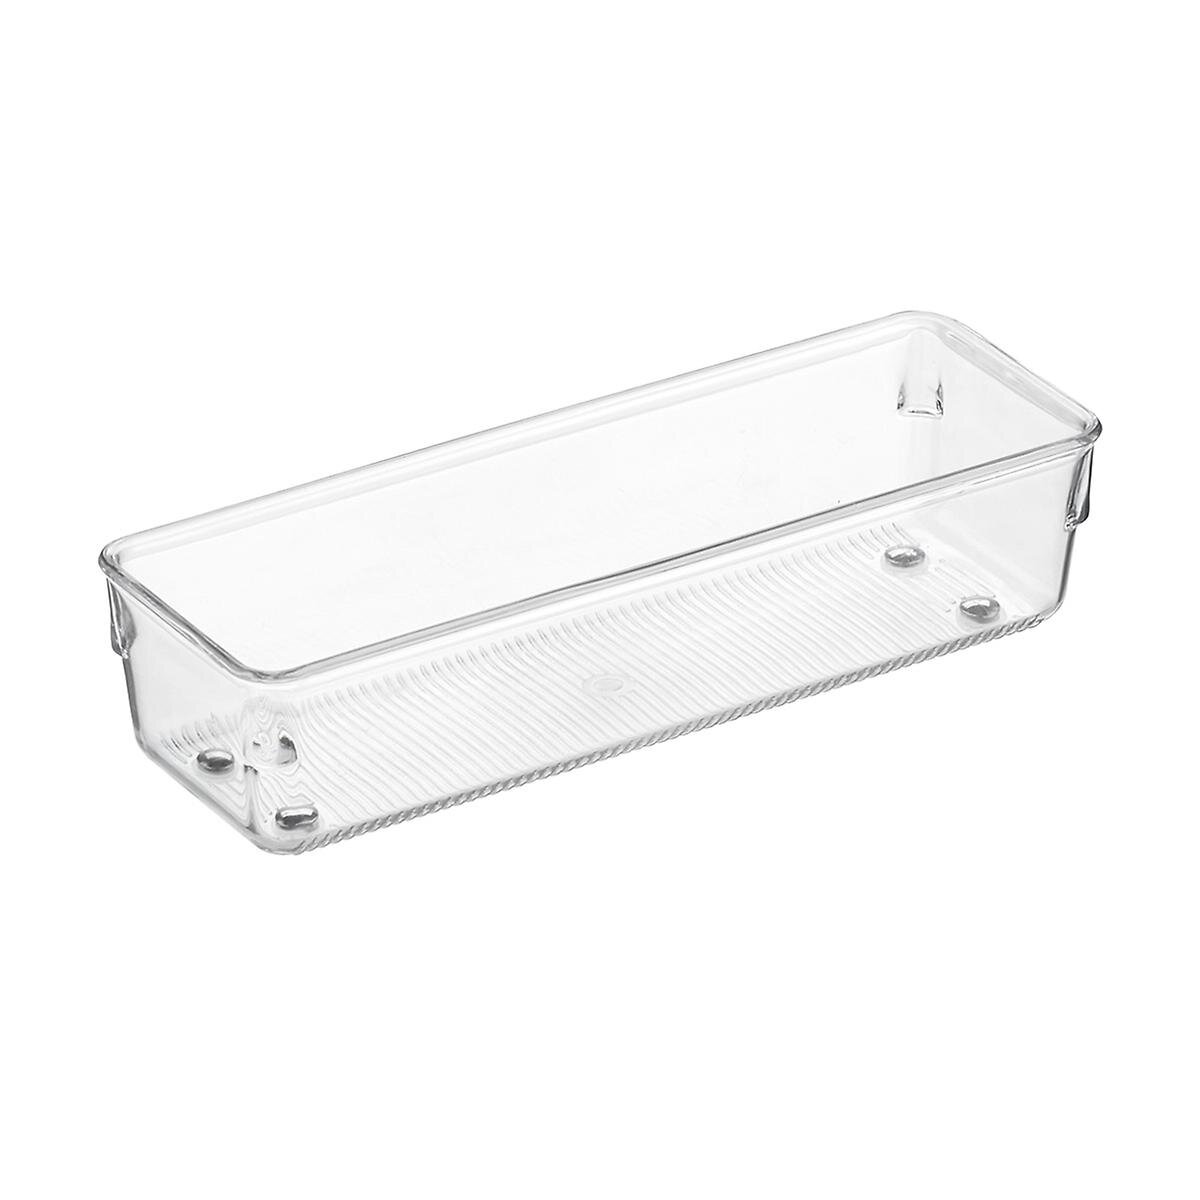
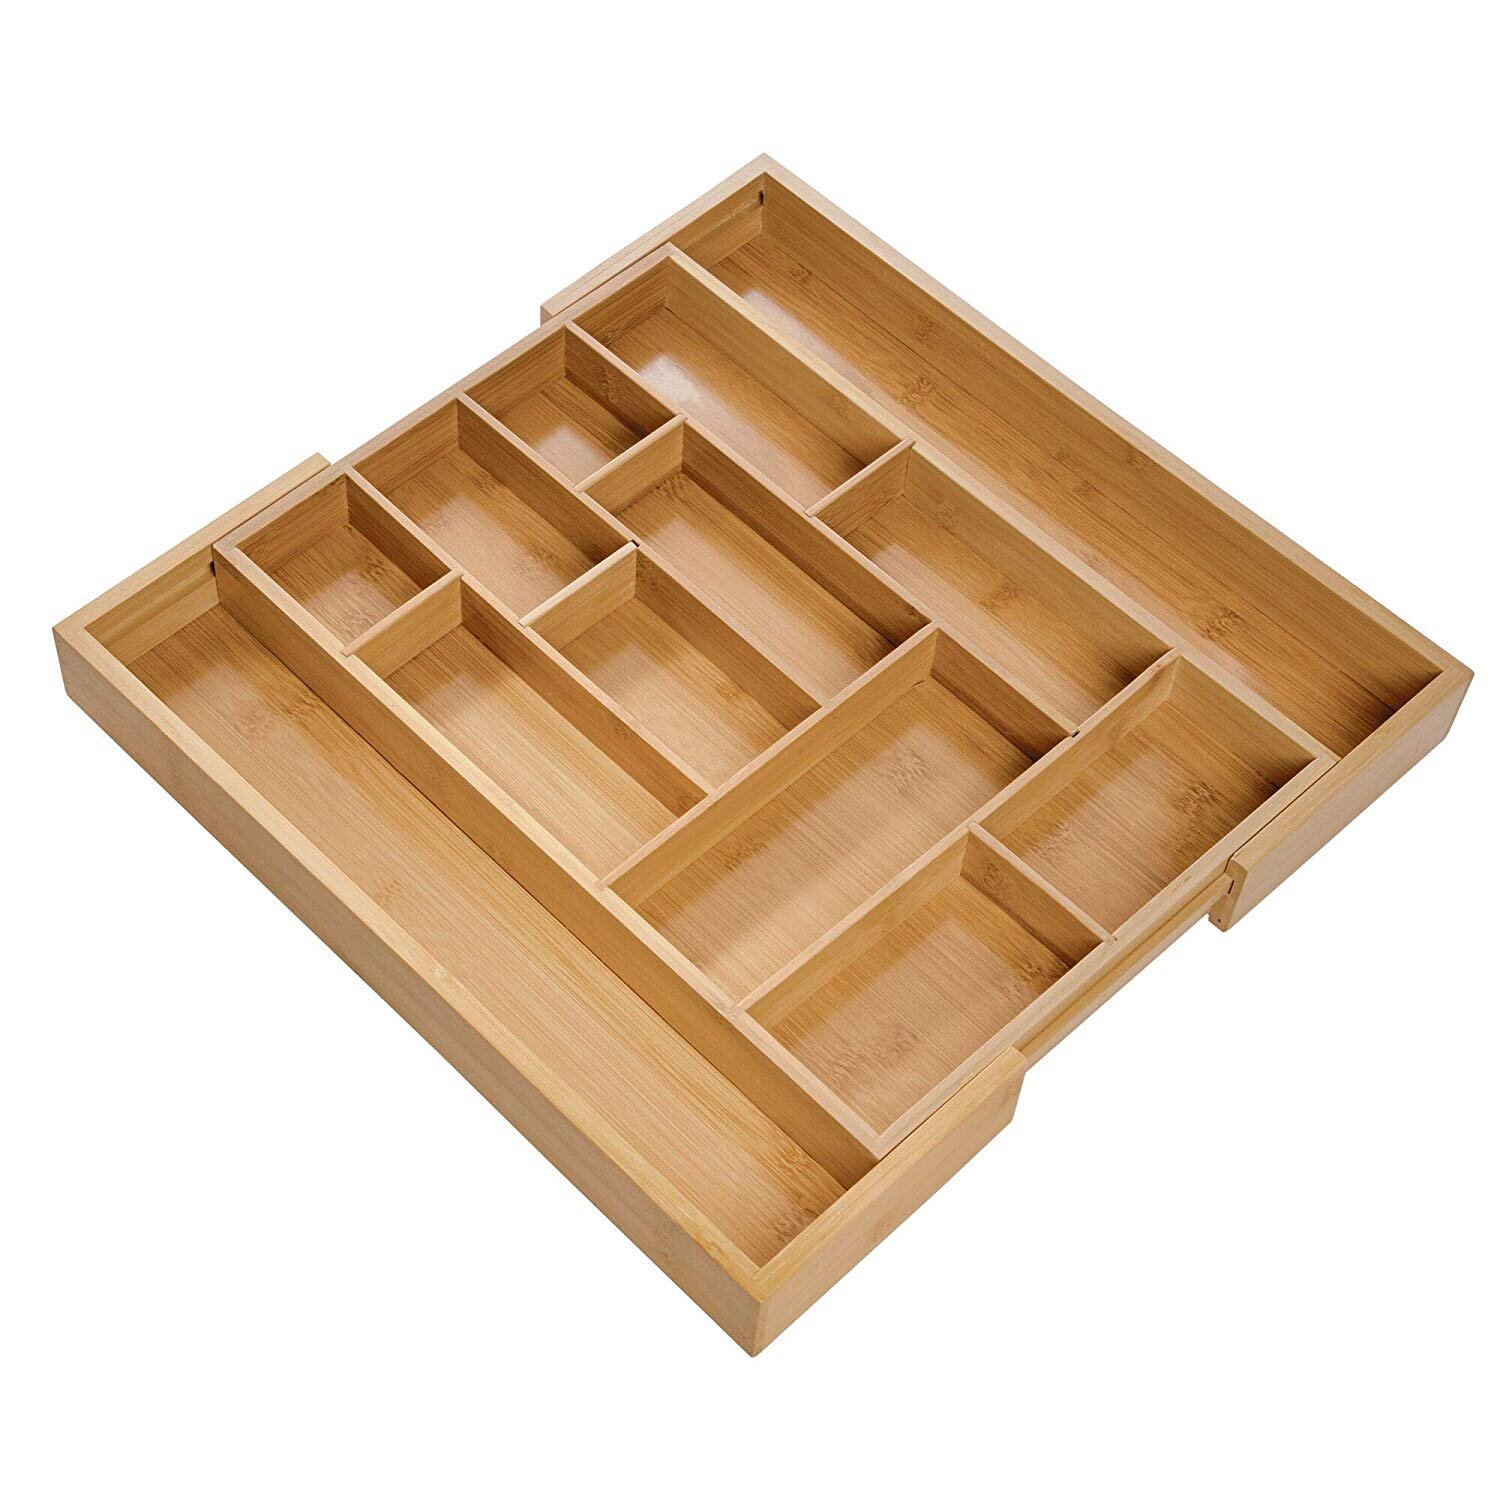
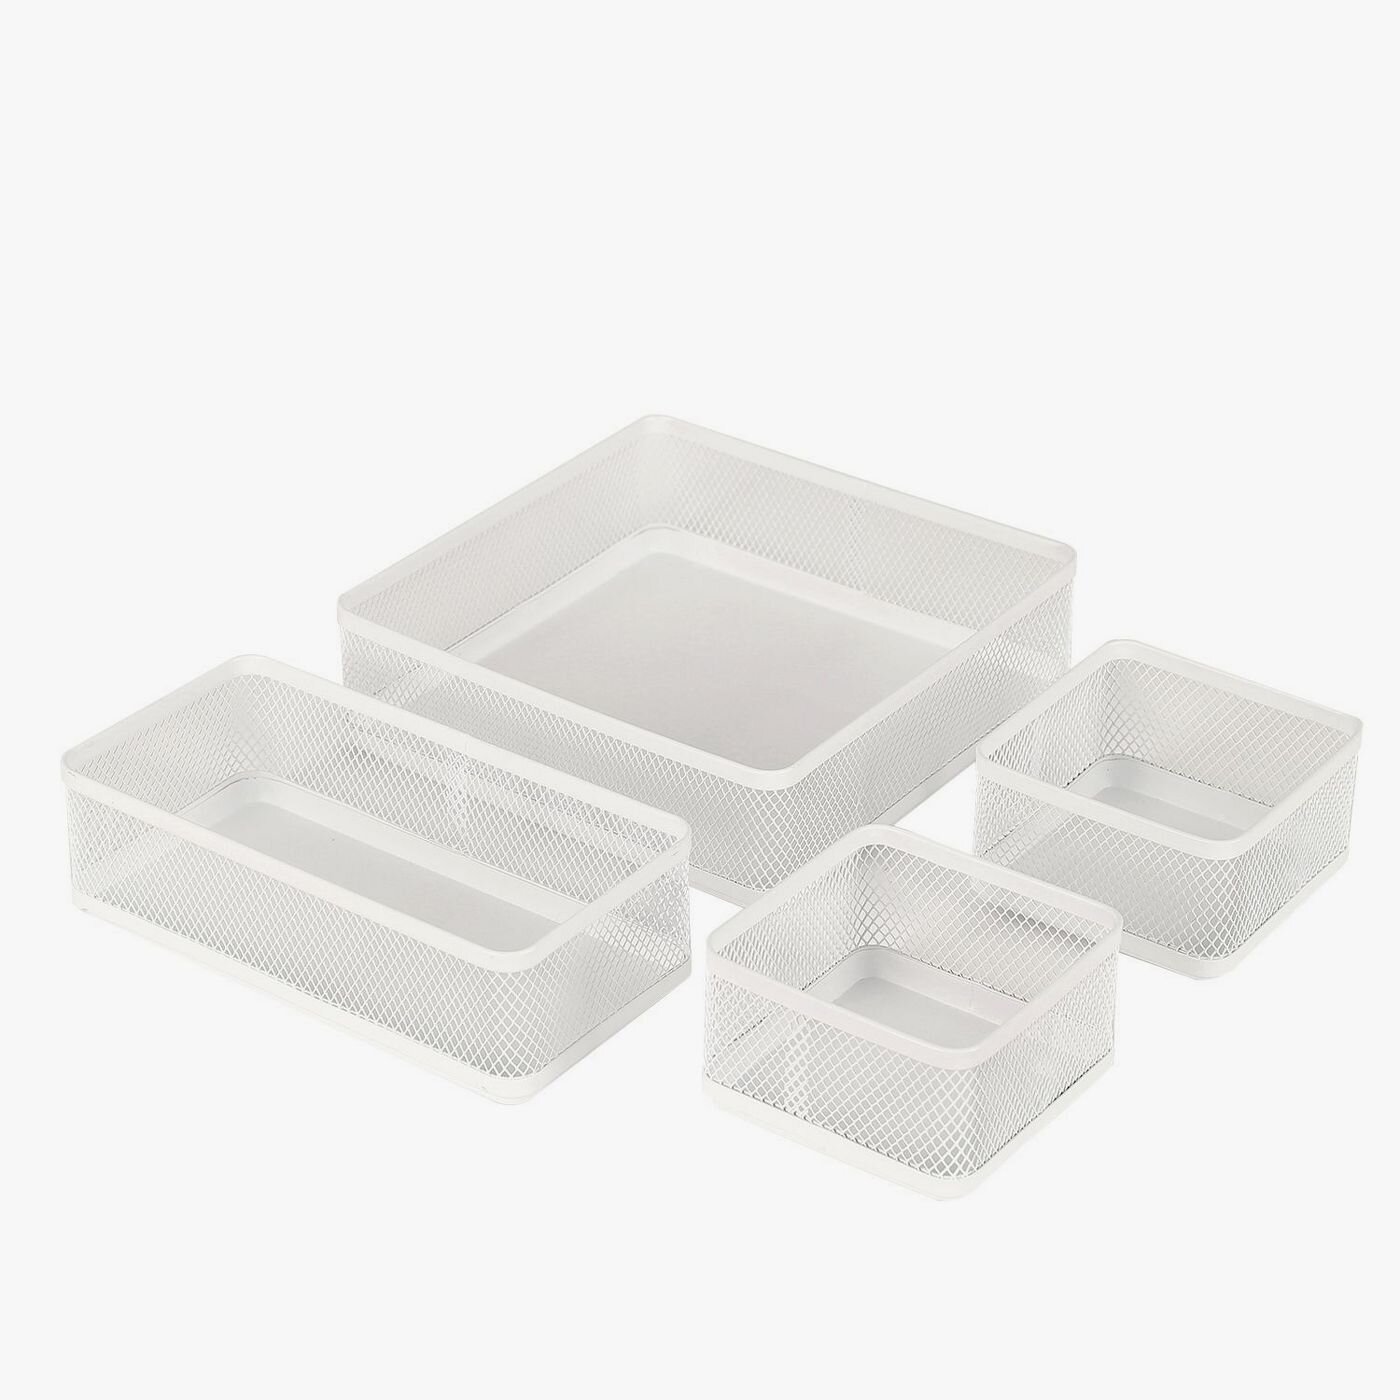
Measure and contain.
Drawers are one spot where I will always recommend additional containment/product. Does that mean that you need to make a trip to The Container Store and agonize for an hour over which organizers to buy? Absolutely not. Drawer division can be as simple as an old iPhone or jewelry box or a little bowl or tray, so shop your home first and try not to overthink it. If you do want to incorporate some new product, but aren’t sure where to start, make sure that you measure depth, width, and height and then check out a few of my favorites linked below (including a little something extra to keep individual dividers from sliding around):
Junk drawer no more!
Yay for opening a once-dreaded drawer and feeling calm and efficient instead! I may be verging on broken record territory here, but maintenance is key to keeping this spot functional and easy on the eyes. Regularly relocate or trash any random items that have crept back in, and head back to this spot first if you’re feeling overwhelmed and not sure where to begin.
